Table of Content
Operating an industrial copper wire granulator at peak recovery efficiency requires rigorous adherence to standardized operational routines and preventative maintenance protocols. A robust granulator operational program combines a pre-start mechanical inspection (blade gap, screen condition, belt tension), a sequential startup protocol, continuous thermal and amperage monitoring, and a controlled purge-out shutdown procedure. Below, I break down the step-by-step operating checklists for daily machine operation, OSHA machine guarding compliance, and operator onboarding protocols.
What Pre-Operational Checks Must Operators Complete Before Starting the Granulator?
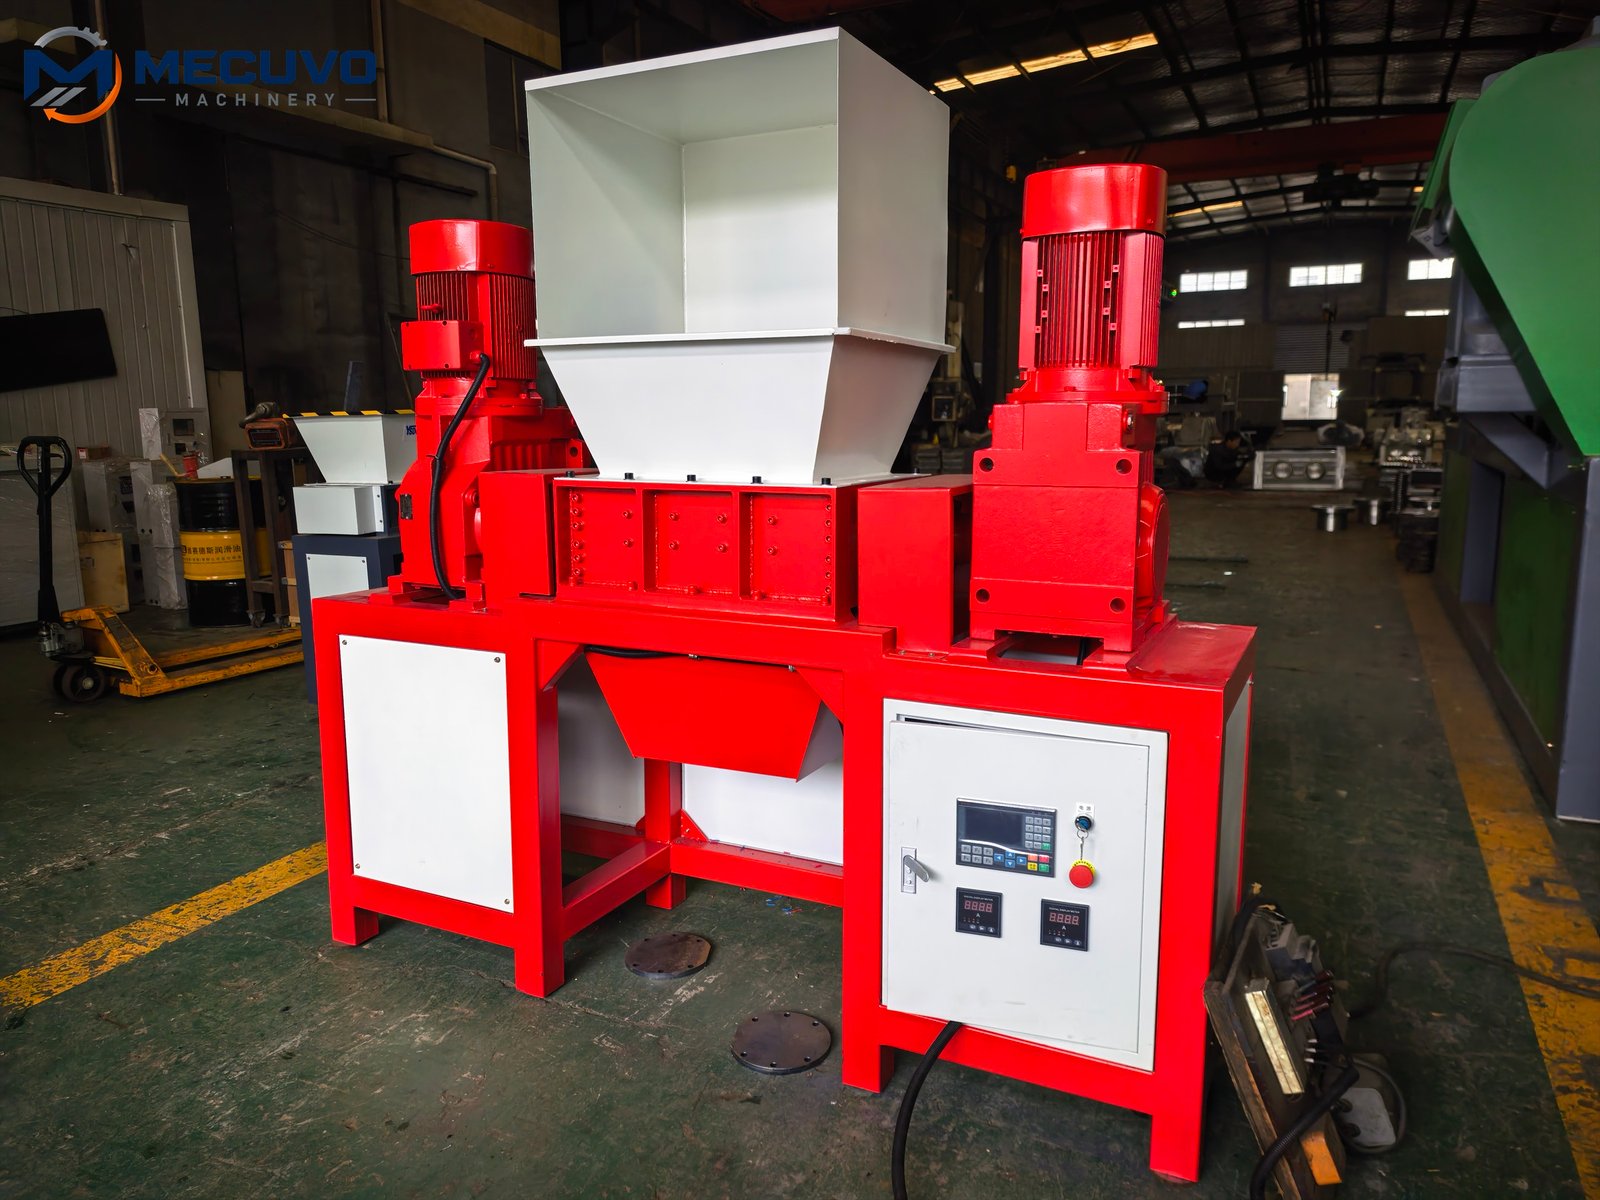
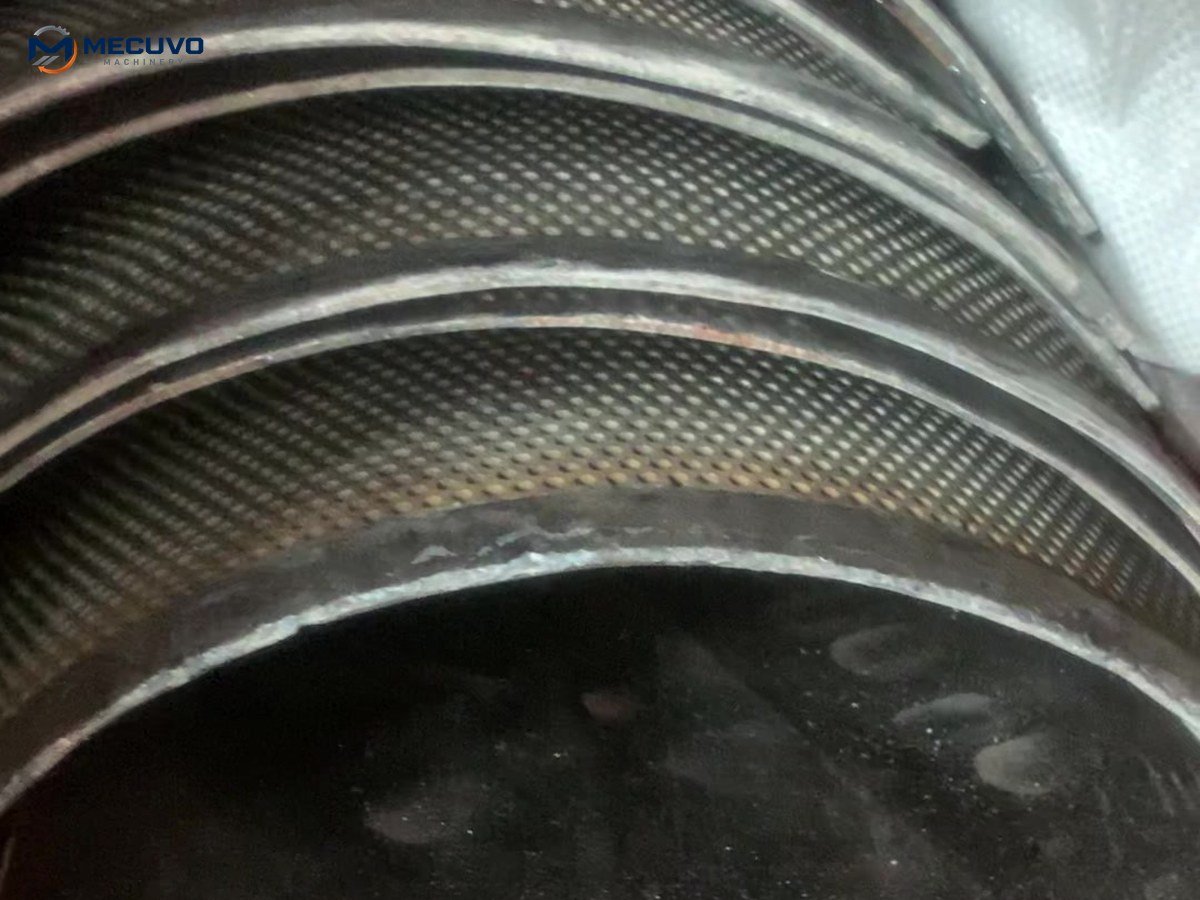
A disciplined pre-shift inspection prevents costly blade clashes and unscheduled downtime. Serving as an operational framework, these procedures must be calibrated against specific OEM model documentation, baseline logbooks, and motor nameplate ratings. Under strict Lockout/Tagout (LOTO) protocols, operators must inspect the cutting chamber for foreign metal, verify blade gap clearance (typically 0.20 mm to 0.40 mm for standard cable), clear blinded screen apertures, and test safety interlocks. To minimize unplanned downtime, scrap yards should maintain a dedicated inventory of recommended spare parts for copper wire granulators, including replacement screen decks and knife sets.
The Lockout/Tagout Protocol and Cutting Chamber Inspection
Before energizing the main control panel, the lead machine operator must carry out a systematic mechanical inspection under strict compliance with OSHA 29 CFR 1910.147 (Lockout/Tagout). The primary disconnect switch must be locked in the off position while inspecting the interior of the cutting mill.
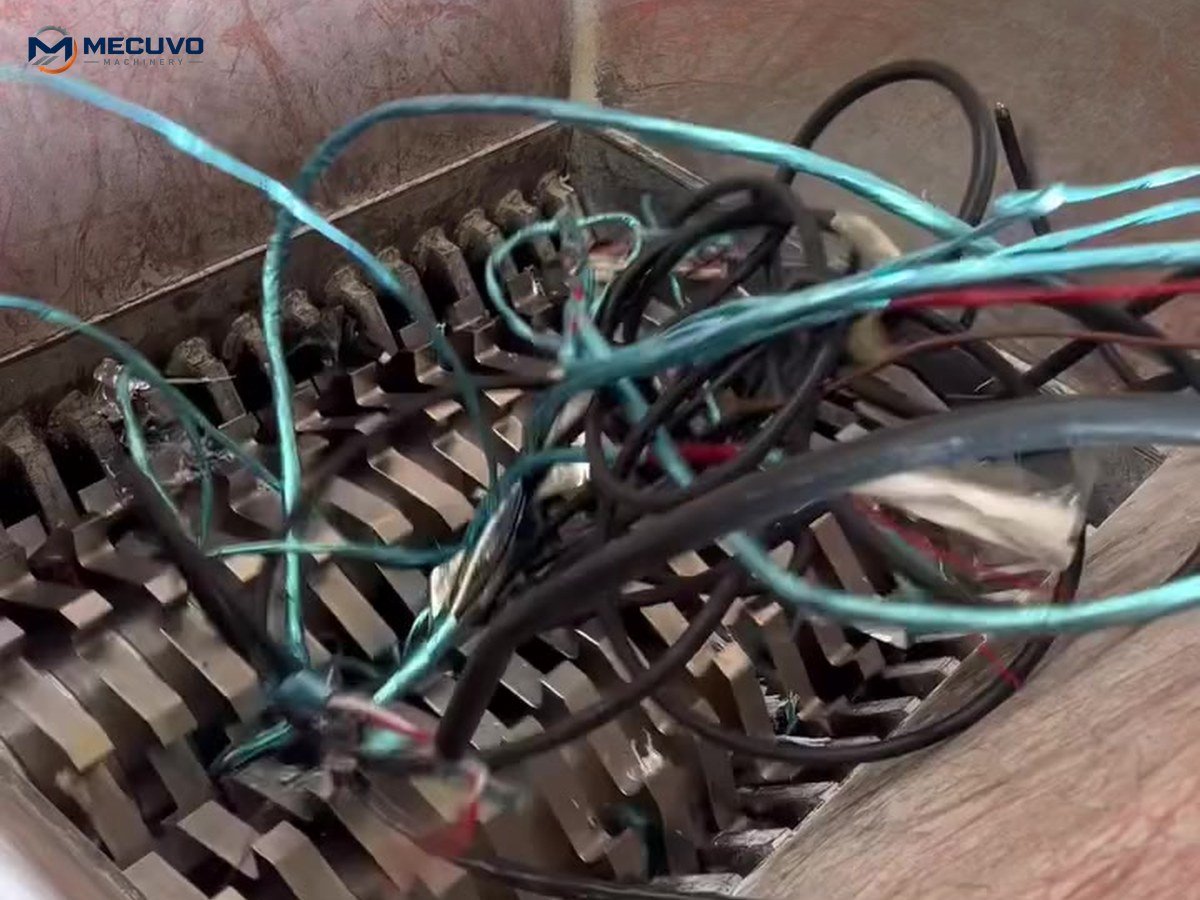
- Tramp Metal and Debris Check: Open the cutting chamber hood and visually inspect the space between rotor blades and stationary bed knives. Confirm that no loose bolts, steel clips, or ungranulated wire birdnests remain trapped in the housing from the prior shift. Tramp ferrous metals fed into an active mill will instantly chip D2 or SKD-11 tool steel knives.
- Blade Clearance Verification: Using a set of brass feeler gauges, measure the gap between each rotating blade and the stationary bed knives. For general scrap cable processing, cutting clearance is typically calibrated between 0.20 mm and 0.40 mm (or per OEM specifications for specific wire cross-sections). A gap exceeding 0.50 mm causes wire strands to pinch and smear rather than cleanly shear, generating excessive heat and melting polymer insulation.
- Drive Belt Tension & Condition: Inspect the matched V-belts connecting the main electric motor to the rotor flywheel. Tension should be checked against manufacturer belt span and deflection-force gauges (a practical reference being 10 mm to 15 mm deflection under calibrated force). Loose belts slip during heavy cable shock loads, leading to rapid friction glazing and rotor stall.
- Safety Interlock & Fixed Guard Inspection: In accordance with OSHA 29 CFR 1910.212 Machine Guarding and OSHA 1910.219 (Mechanical Power-Transmission Apparatus), verify that all fixed transmission enclosures (such as bolted sheet-metal belt guards) are firmly secured and require dedicated tools to remove. For hinged inspection doors and cutting chamber access hatches equipped with safety limit switches or guard locking devices, verify that unlatching immediately breaks the control circuit and prevents rotor energization while moving.
What Is the Correct Sequential Start-Up and Thermal Stabilization Protocol?
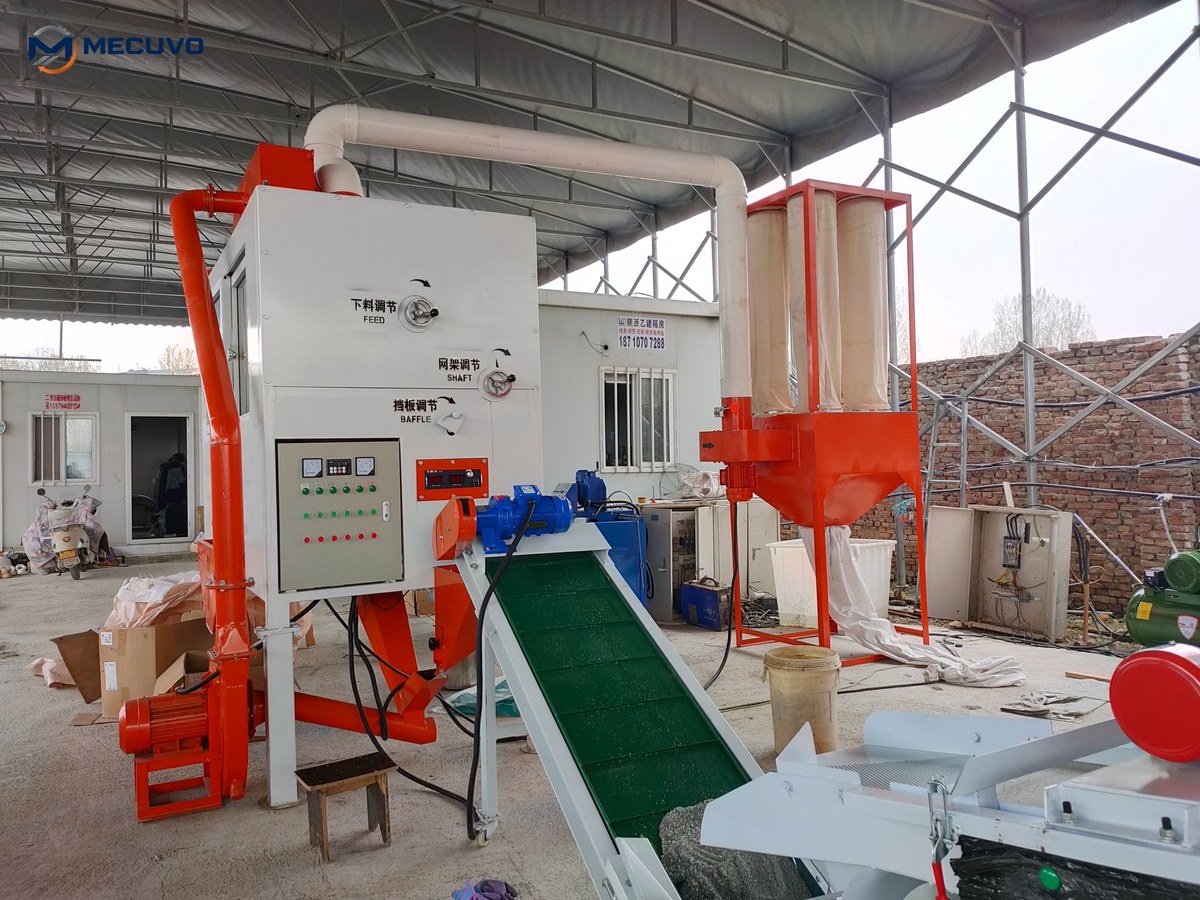
Starting an industrial granulator line requires a strict reverse material-flow sequence to prevent blockages. Start machines from downstream to upstream: pulse-jet dust collector, vibrating air table, discharge conveyors, main cutting rotor, and finally the wire infeed conveyor, ramping up feed rate over 10 minutes.
Sequential Motor Energization and Control Verification
Granulator lines feature multiple integrated electric motors driving high-inertia components. Activating the main cutting rotor before downstream separation decks or dust extraction systems are operating creates immediate material choking. Follow this standardized reverse-flow startup sequence:
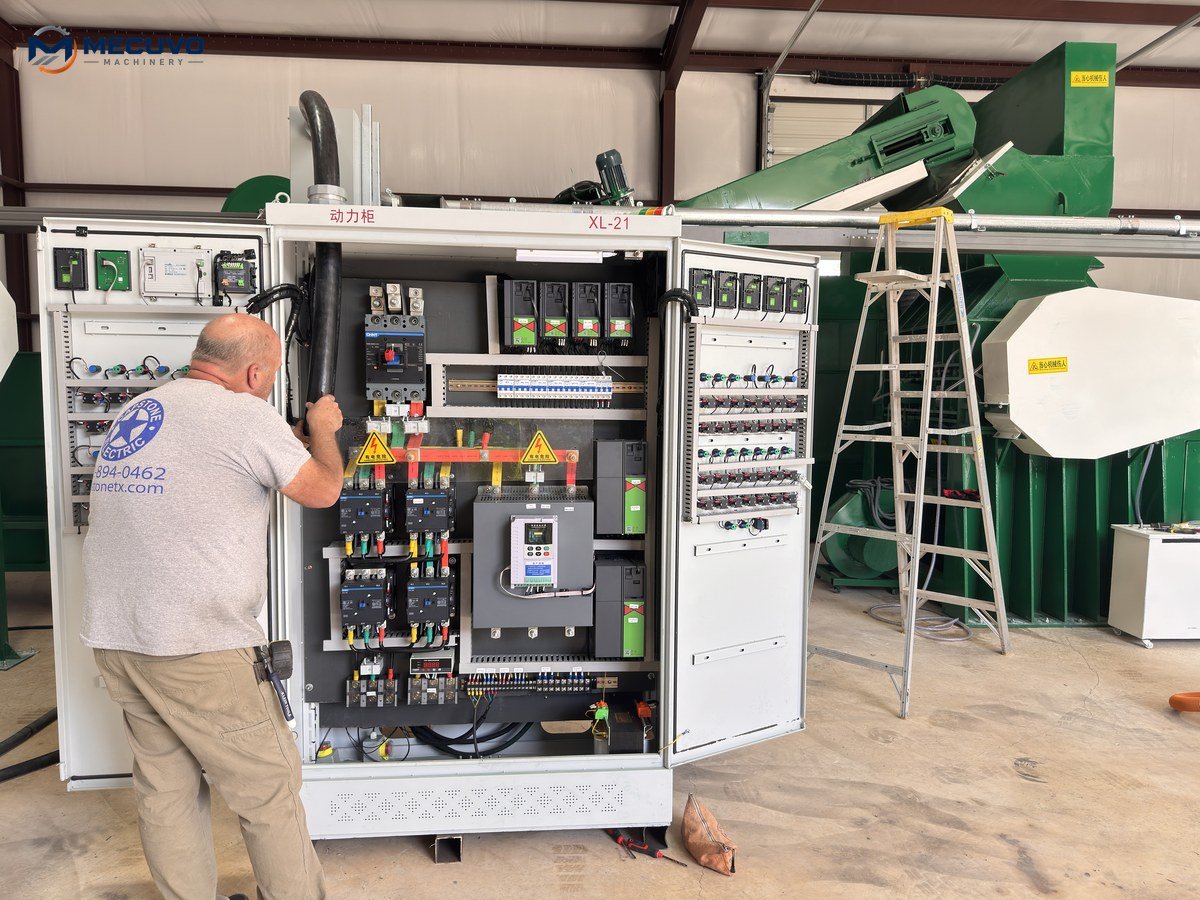
- Step 1 – Control Panel and E-Stop Test: Energize the main disconnect. In accordance with NFPA 79 Electrical Standard for Industrial Machinery, verify that all red emergency stop mushroom buttons are functional, reset the master safety relay, and confirm that the digital PLC display shows normal baseline status.
- Step 2 – Dust Extraction System: Start the pulse-jet baghouse exhaust fan. Allow negative air pressure to establish across all suction hoods, confirming that pneumatic duct dampers are locked in their calibrated positions.
- Step 3 – Vibrating Air Separation Table: Start the air fluidisation blower and eccentric vibratory drive motor. Inspect the deck to verify uniform oscillation without abnormal lateral rattling.
- Step 4 – Auxiliary Material Handling: Energize the copper granule discharge screw, the tailings return conveyor, and any magnetic cross-belt separators.
- Step 5 – Main Granulator Rotor: Press the granulator start button. Observe the ammeter: the motor will exhibit a momentary high-inrush starting current before settling down to an idle baseline current (typically 25% to 35% of full load amperage). Allow the rotor to idle unloaded for 2 to 3 minutes to verify smooth bearing operation.
- Step 6 – Infeed Feeding Ramp: Start the infeed conveyor. Feed prepared wire at approximately 30% of target capacity for the first 5 minutes to establish a uniform bed on the separation deck, then gradually increase throughput to rated continuous capacity.
How Should Operators Execute Safe Daily Purge-Out and Controlled Shut-Down?
Stopping a granulator under active load can seize the rotor and overload the electrical drives upon restart. Execute a full material purge by stopping the infeed conveyor while running the granulator and air table dry for 3 to 5 minutes, followed by sequential shutdown and end-of-shift housekeeping.
The Dry Purge Protocol and End-of-Shift Housekeeping
Operational Boundary: Emergency Stop vs. Controlled Shutdown: In the event of immediate personnel risk, catastrophic mechanical jamming, or an electrical fault, operators must hit the nearest Emergency Stop (E-Stop) button immediately, prioritizing life safety over machinery jamming. For regular end-of-shift shutdowns and planned maintenance, however, abruptly cutting master power while wire is actively cutting leaves chopped copper and rubber compacted inside the cutting chamber and screen basket. When the machine cools, settled metal wedges the rotor tightly, causing the motor to trip on overcurrent when restarted. For normal shift completion, implement the following controlled shutdown procedure:
- Halt Infeed Conveyor: Turn off the raw wire infeed conveyor while keeping all downstream components running at full operating speed.
- Chamber Evacuation Run (3 to 5 Minutes): Allow the granulator rotor to spin unloaded until acoustic monitoring confirms that no wire strands are being cut. Inspect the discharge cyclone sight glass; material flow should cease completely.
- Air Table Deck Clearing: Observe the vibrating air separation deck until the fluidised copper ridge and polymer tailings layer clear off the ends into their respective storage containers.
- Forward Order De-Energization: Shut down the main granulator rotor motor. Once the rotor comes to a complete standstill, stop the air table drive and fluidisation blower, followed by discharge conveyors, and finally the dust extraction exhaust fan.
- Dust Bin and Magnet Cleanout: Empty the hopper bins beneath the pulse-jet dust collector and wipe accumulated fine iron chips from the magnetic drum separator face. If cleaning requires reaching past fixed guards or servicing energized magnetic components, operators must implement full Lockout/Tagout (OSHA 1910.147 / ISO 14118) and confirm zero residual mechanical and electrical energy before proceeding.
- Shift Logbook Entry: Record total operating runtime hours, peak motor amperage (calibrated against nameplate full load amperage), bearing operating temperatures (verified against OEM guidelines, typically ≤ 70°C / 158°F or ≤ 40°C rise over ambient), vibration baseline trends (monitored per ISO 20816-1 / ISO 20816-3), and notes regarding knife wear or air table calibration. For broader facility safety guidelines, review our guide on copper granulator safety setup for US yards.
| Checklist Stage | Inspection / Operational Step | Target Specification / Action | Standard Governing Code |
|---|---|---|---|
| Pre-Start Mechanical | Rotor blade & bed knife gap clearance | 0.20 mm – 0.40 mm uniform gap; torque bolts | OSHA 1910.147 LOTO |
| Pre-Start Mechanical | Classification screen basket check | Clear blinded holes; verify clamp tightness | Equipment Operation Spec |
| Electrical & Safety | Emergency stop circuits & interlocks | Depress all e-stops; test safety limit switches | NFPA 79 Chapter 10 |
| Mechanical Guarding | Fixed belt covers & interlocked access panels | Secure bolted guards; test door limit interlocks; zero exposed moving parts | OSHA 1910.212 / OSHA 1910.219 |
| Sequential Startup | Downstream-to-upstream start sequence | Dust fan -> Air table -> Conveyors -> Granulator rotor | Plant Standard Operating Procedure |
| In-Process Monitoring | Cutting motor operating current (Amps) | Maintain within 75% – 85% full load amperage | Motor Nameplate Specification |
| In-Process Monitoring | Main bearing housing temperatures | Operating temperature within OEM thermal limits (typically ≤ 70°C / 158°F) | OEM Bearing Thermal Specification |
| In-Process Monitoring | Rotor bearing vibration severity | Baseline RMS velocity within allowable vibration zones | ISO 20816-1 / ISO 20816-3 Mechanical Vibration |
| Controlled Purge | 3 to 5 minute dry cleanout run | Run dry until cutting chamber and deck clear | Standard Operating Procedure |
To consult our complete range of processing lines, visit our copper granulator machines collection. Maintaining optimal cutting clearance requires adhering to a structured copper granulator blade sharpening schedule to avoid thermal blade softening and fines generation.
To obtain customized operator training guides, spare knife sharpening jigs, or replacement screen baskets, contact our engineering support team directly via our inquiry portal.
Key Takeaways
Implementing standardized pre-start knife inspections, reverse-flow sequential startups, and controlled 5-minute dry purge shutdowns ensures peak granulator reliability, operator safety, and consistent copper recovery.
— YOUR RECYCLING PROJECT
Find the right machine for your material.
Tell us your material and required capacity.
Or email sales@mecuvo.com