Table of Content
When an alligator shear begins folding thin sheet metal or pulling wire bundles into the blade gap rather than shearing cleanly, improper blade clearance is almost always the root cause. Thin sheet jams occur when blade clearance exceeds 5 to 10 percent of material thickness; restoring cutting performance requires locking out power, cleaning seat pockets, and precision shimming the bed knife. I examine the fracture mechanics behind blade wedging, feeler gauge measurement techniques, and practical shimming procedures below to keep your shear cutting cleanly.
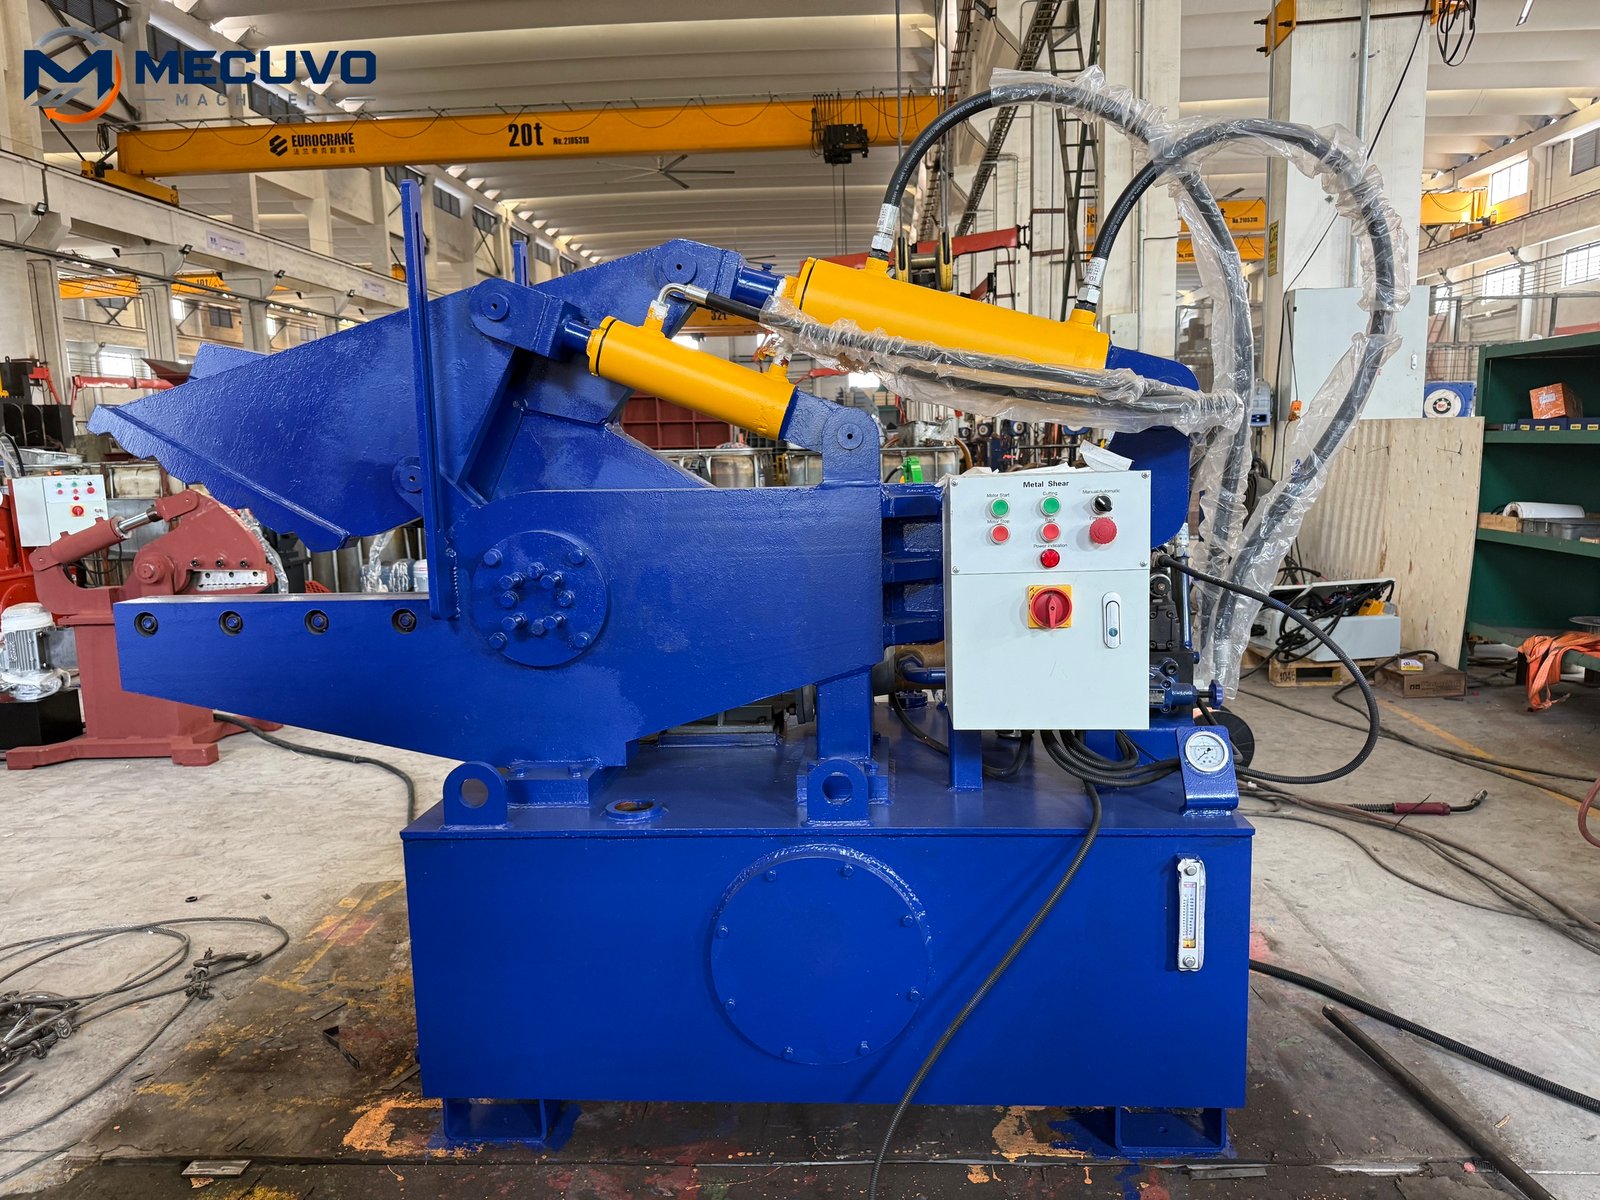
Why Does Thin Sheet Scrap Jam and Fold in an Alligator Shear?
When cutting thin sheet, roofing tin, or fine cable strands, an alligator shear may suddenly jam, pulling metal downward into the gap. Jams occur when the horizontal clearance gap between upper and lower blades exceeds the elastic-plastic shear threshold, causing the sheet to bend rather than fracture.
The Physics of Shear Fracture vs Tensile Bending
In a properly tuned alligator shear machine, cutting occurs in three distinct physical phases: initial elastic deformation, plastic penetration where the opposing knife edges indent the metal, and final shear fracture where microcracks propagate between the blade edges to sever the section cleanly. According to ASM International metal shearing fundamentals, this clean fracture requires an optimal lateral clearance of approximately 5% to 10% of workpiece thickness.
When processing heavy scrap (such as 10 mm steel plate or thick copper busbars), a 0.5 mm to 0.8 mm gap operates well within tolerance. However, when the operator feeds light 0.8 mm roofing sheet, thin appliance skins, or fine multi-strand wire, that same 0.6 mm gap represents over 70% of material thickness. At this excessive ratio, the opposing blades fail to concentrate sufficient localized shear stress. Instead of fracturing, the material bends along the blade corner and is drawn down into the vertical slot between the moving jaw and the bed knife.
As the jammed sheet wedges into the gap, friction forces multiply exponentially. The hydraulic system encounters massive resistance, driving system pressure to maximum relief settings. The jaw stalls mid-stroke, and attempting to reverse the jaw wedges the metal further, resulting in costly yard downtime and potential damage to the blade seats.
How Should You Measure Alligator Shear Blade Clearance Accurately?
Visual inspection cannot detect the tenths-of-a-millimeter variations that determine whether a machine shears cleanly or jams. Measure blade clearance with calibrated steel feeler gauges along three points: the throat near the pivot, the mid-blade section, and the outer blade tip.
Feeler Gauge Inspection Protocol and Safety Isolation
Before attempting any blade inspection or measurement, strict Lockout/Tagout (LOTO) procedures must be enforced under OSHA 29 CFR 1910.147. Disconnect and padlock the electrical supply. Jog or inch the hydraulic jaw until the upper moving blade overlaps the lower stationary blade by approximately 10 mm to 15 mm, then mechanically block the jaw with an engineered safety prop before approaching the cutting throat.
Insert long leaf feeler gauges horizontally between the vertical overlapping faces of the upper and lower knives. Take precise readings at three distinct locations:
- The Throat (Heel): Located closest to the main pivot pin, where mechanical rigidity is highest.
- The Midpoint: Halfway along the blade span, where cutting of regular profiles takes place.
- The Toe (Tip): At the outer end of the jaw, where mechanical deflection under load is greatest.
For general scrap processing, target clearance should measure between 0.20 mm and 0.40 mm for mixed light scrap, or 0.40 mm to 0.60 mm for heavy structural steel. If the gap at the toe is significantly larger than at the heel (e.g., 0.30 mm at heel vs 0.80 mm at toe), this indicates pivot pin bushing wear or deflection in the jaw bearings, requiring shimming or bushing overhaul as outlined in our guide on rotor blade sharpening schedules.
| Blade Position | Nominal Light Scrap Clearance | Nominal Heavy Scrap Clearance | Warning Signs of Misalignment |
|---|---|---|---|
| Throat (Heel) | 0.20 mm – 0.30 mm | 0.35 mm – 0.45 mm | Gap < 0.10 mm risks metal-to-metal contact |
| Mid-Blade | 0.25 mm – 0.35 mm | 0.40 mm – 0.50 mm | Burr formation on cut steel ends |
| Toe (Tip) | 0.30 mm – 0.40 mm | 0.45 mm – 0.60 mm | Gap > 0.80 mm causes thin sheet folding |
What Is the Step-by-Step Procedure to Adjust and Shim Shear Knives?
Adjusting blade clearance requires methodical cleaning of knife mounting pockets, selecting precision shims, and torquing retaining bolts in sequence. Remove the bed knife, thoroughly scrape and clean the mounting pocket, insert precision steel or brass shims behind the stationary blade, and torque bolts to OEM specification.
Cleaning, Shimming, and Torquing Protocol
To adjust clearance, modifications are typically made to the stationary bed knife rather than the moving jaw. Follow this standardized procedure:
- De-energise and lock out the machine: Secure the upper jaw in an open position using safety blocking pins per UK HSE maintenance guidance.
- Disassemble retaining bolts: Loosen and remove the high-tensile countersunk hex bolts securing the bed blade. Carefully lift the tool steel knife from its pocket.
- Deep-clean the blade seat: Use a steel wire wheel and scraper to remove all rust, accumulated metal fines, dried grease, and scale from both the rear and bottom seating surfaces. Even a 0.05 mm particle of trapped grit behind the blade will cause uneven blade tilt and severe localized interference.
- Measure and install shims: Use full-length precision ground steel or brass shims matching the exact height and width of the blade back. Avoid stacking multiple narrow strip shims, which can shift under cyclic shear shock. To reduce the blade gap by 0.25 mm, insert a 0.25 mm shim flat against the rear pocket wall.
- Reinstall and torque: Position the knife (using a fresh, unrounded cutting edge per D2 tool steel standards) and apply anti-seize compound to bolt threads. Tighten retaining bolts starting from the center and working outward, using a calibrated torque wrench.
- Cold hand-turn or jog test: Slowly jog the jaw through a complete dry stroke without material to verify that upper and lower blades pass freely with zero contact along the entire length before resuming production.
To consult on tool steel blade replacement or shimming specifications for your alligator shear, contact our engineering specialists with your scrap types and daily volume at our contact page.
Key Takeaways
Proper alligator shear clearance prevents thin sheet jamming, protects hydraulic components from pressure spikes, and maintains clean cold shearing across diverse scrap profiles.
— YOUR RECYCLING PROJECT
Find the right machine for your material.
Tell us your material and required capacity.
Or email sales@mecuvo.com